Jupyter Interface Preview
- Data analysis and visualization projects using Python libraries (Pandas, Matplotlib, etc.)
- Machine learning and deep learning experiments
- Interactive code execution with immediate feedback
- Creating documented workflows combining code and markdown
- Educational content with explanations and executable examples
Access the Interface
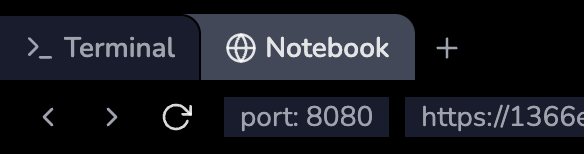
- After starting a Jupyter-enabled lab, click the “Notebook” tab at the top of the page
- Wait for the Jupyter interface to fully load
- You’ll see the familiar Jupyter Notebook interface in your browser
Interface Layout
The Jupyter interface consists of several key components:- Main Work Area:
- Notebook cells (code and markdown)
- Output display
- Toolbar with common actions
- Top Menu Bar:

- File operations
- Cell manipulation
- Kernel controls
Working with Notebooks
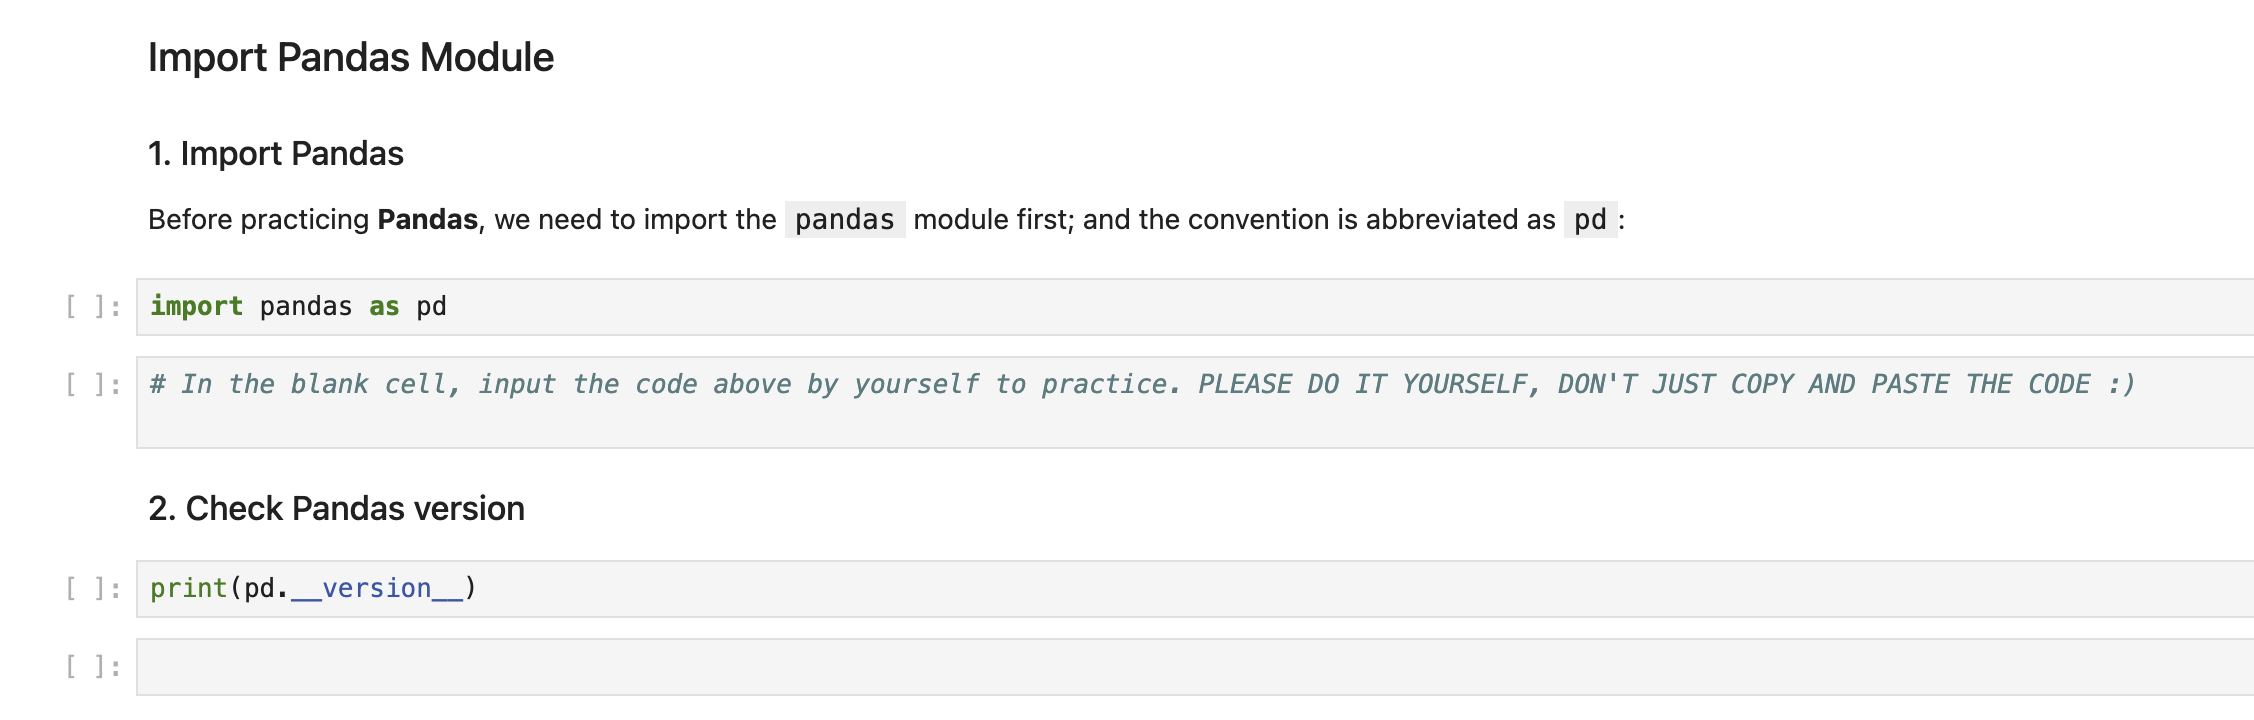
Cell Types
-
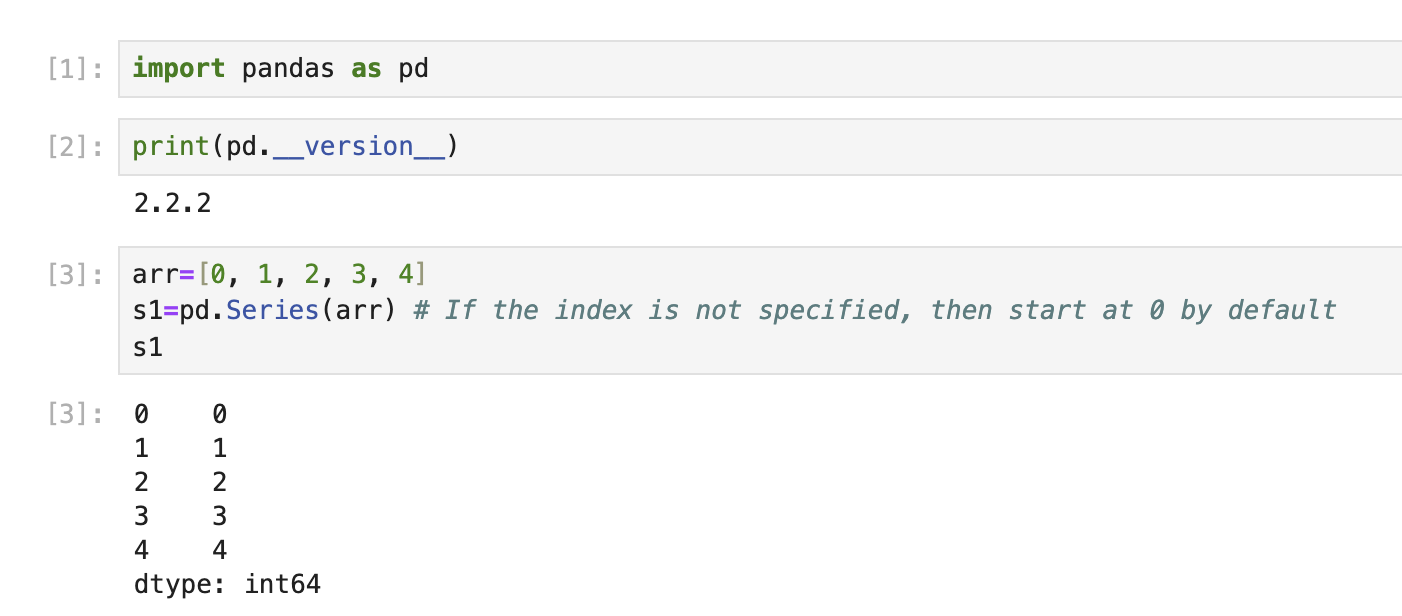
Code Cells:
- Write and execute Python code
- View output directly below the cell
- Use Shift+Enter to execute
-
Markdown Cells:
- Document your work
- Add explanations and notes
- Support mathematical equations using LaTeX
Common Operations
-
Create new cells:
- Click the + button in the toolbar
- Use keyboard shortcut B (below) or A (above)
-
Run cells:
- Click the play button
- Use Shift+Enter
- Use Cell menu options
-
Change cell type:
- Use the dropdown in the toolbar
- Keyboard shortcuts: Y (code), M (markdown)
Usage Scenarios
Data Analysis Sample
Data Analysis Sample
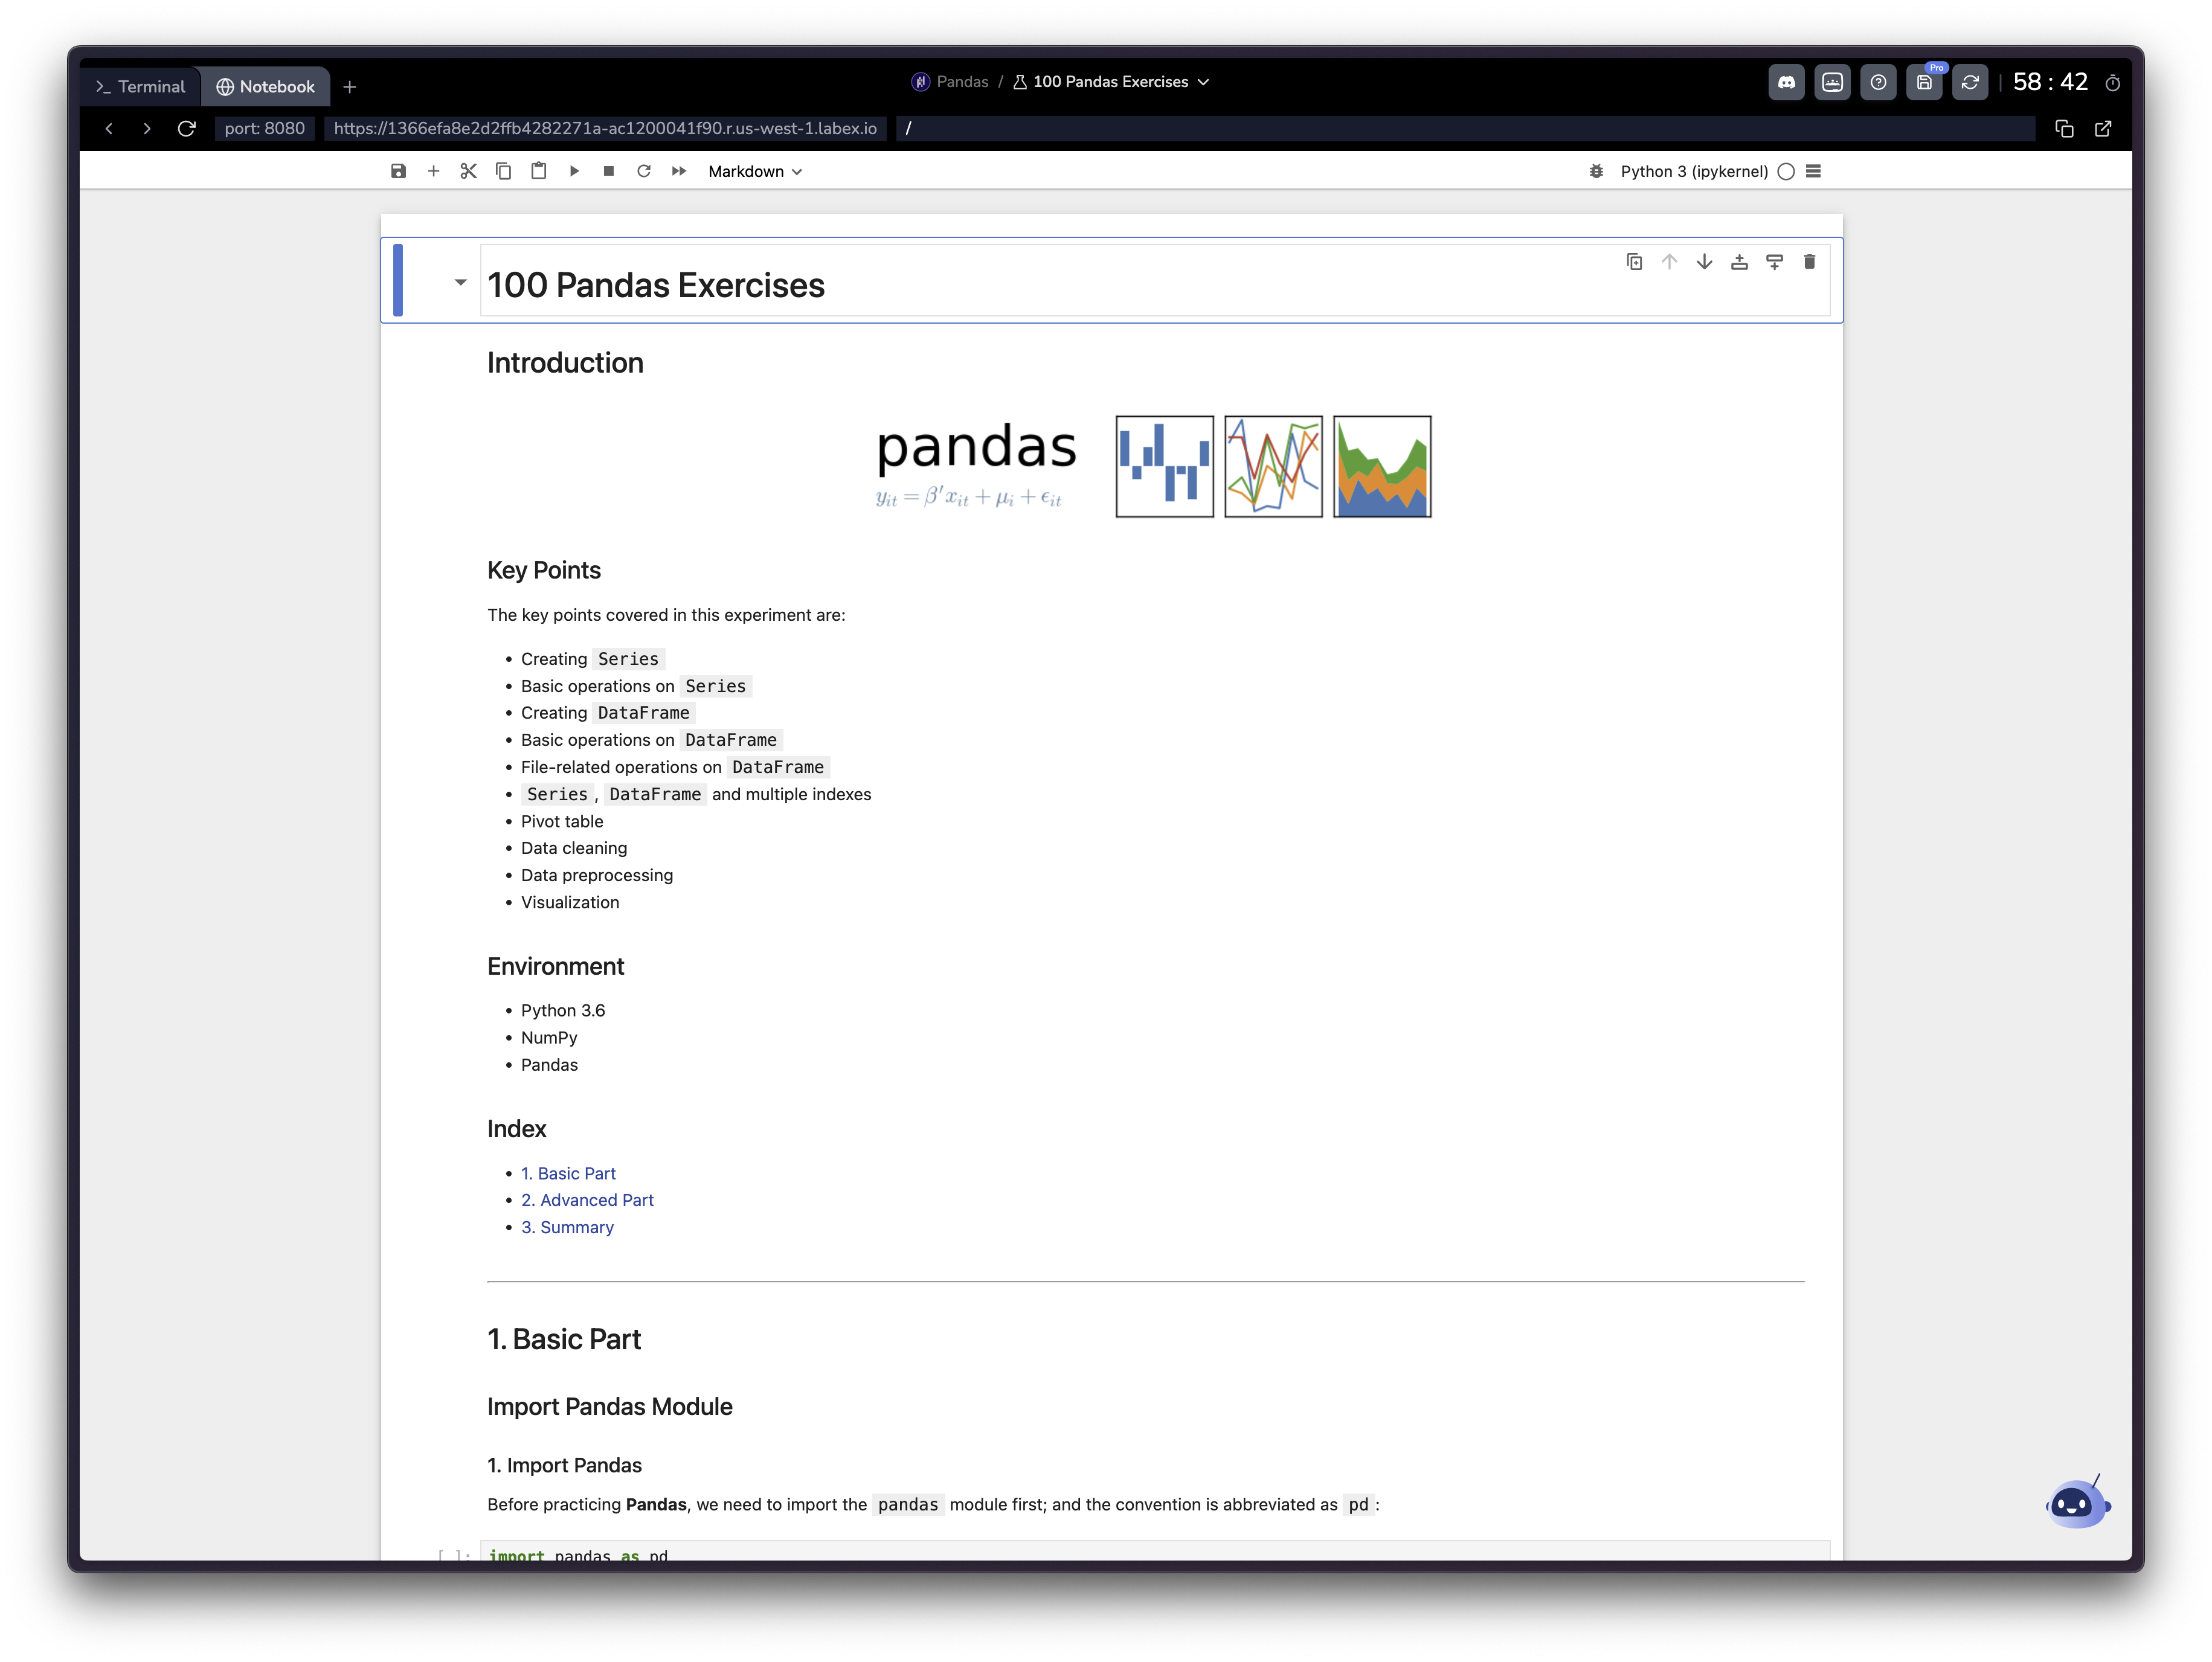
100 Pandas Exercises
This is a sample data analysis lab that covers 100 exercises using the Pandas.
Machine Learning Sample
Machine Learning Sample
Scikit-Learn Classifier Comparison
This is a sample machine learning lab that compares different classifiers
using Scikit-Learn.
Frequently Asked Questions
How do I install additional Python packages?
How do I install additional Python packages?
You can install additional packages using pip in a code cell:Remember that installations are temporary and will be reset when your session ends.
What are the essential keyboard shortcuts?
What are the essential keyboard shortcuts?
Important Jupyter shortcuts:
-
Cell Execution
- Run Cell: Shift+Enter
- Run Cell and Insert Below: Alt+Enter
-
Cell Operations
- Insert Cell Above: A
- Insert Cell Below: B
- Delete Cell: D,D (press twice)
- Copy Cell: C
- Paste Cell: V
-
Cell Types
- Code Cell: Y
- Markdown Cell: M
-
Other
- Save Notebook: Ctrl+S
- Command Palette: Ctrl+Shift+P
Why are educational notebooks different from regular lab content?
Why are educational notebooks different from regular lab content?
Educational notebooks in LabEx are different from regular lab content:
- Content is presented directly in the notebook
- No step-by-step verification is available due to Jupyter’s nature
- You learn by:
- Reading explanations in markdown cells
- Running example code
- Modifying code to experiment
- Completing exercises within the notebook